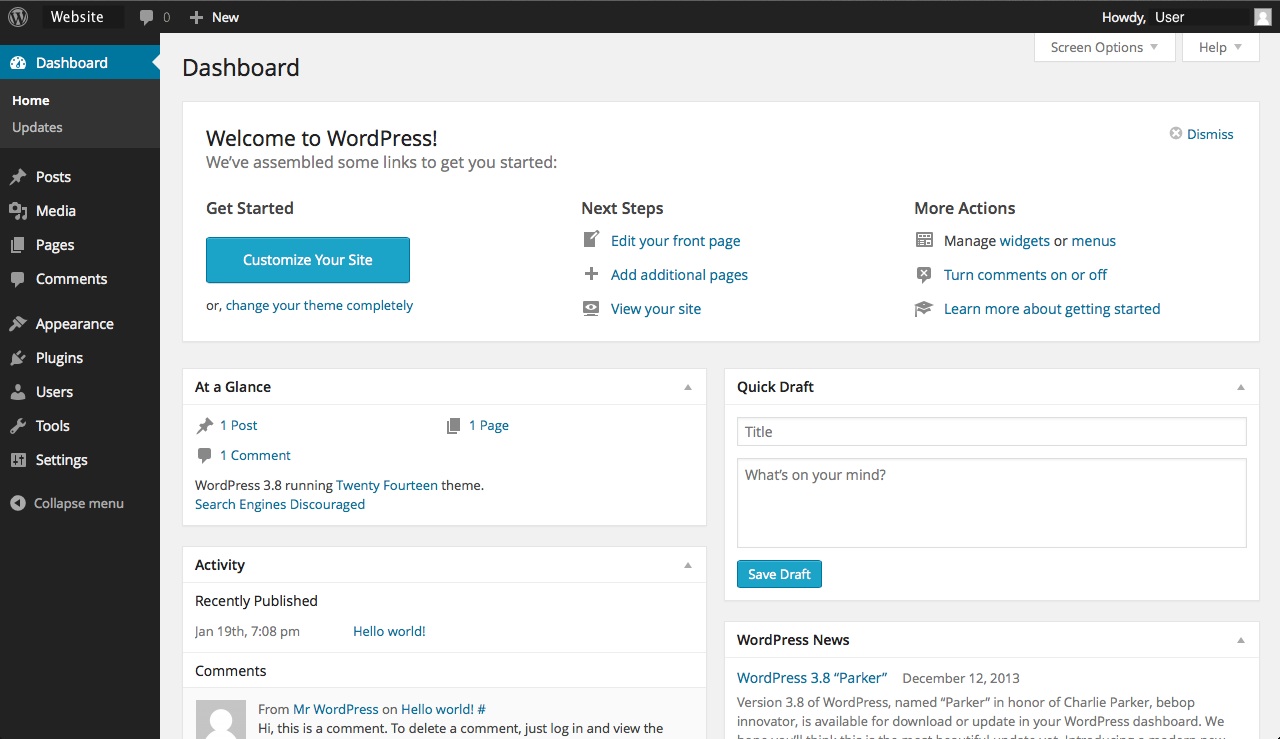
To create a new blog post on your Wordpress first you must login. For more information on this we have provided a knowledge base guide that can be found here. Once logged into your website you will be presented with your dashboard that looks like this:
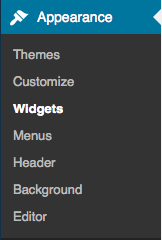
On the left hand side there is the navigation bar, click on the Appearance button and then click on the Widgets button.
You will then be presented with a page that looks similar to this:
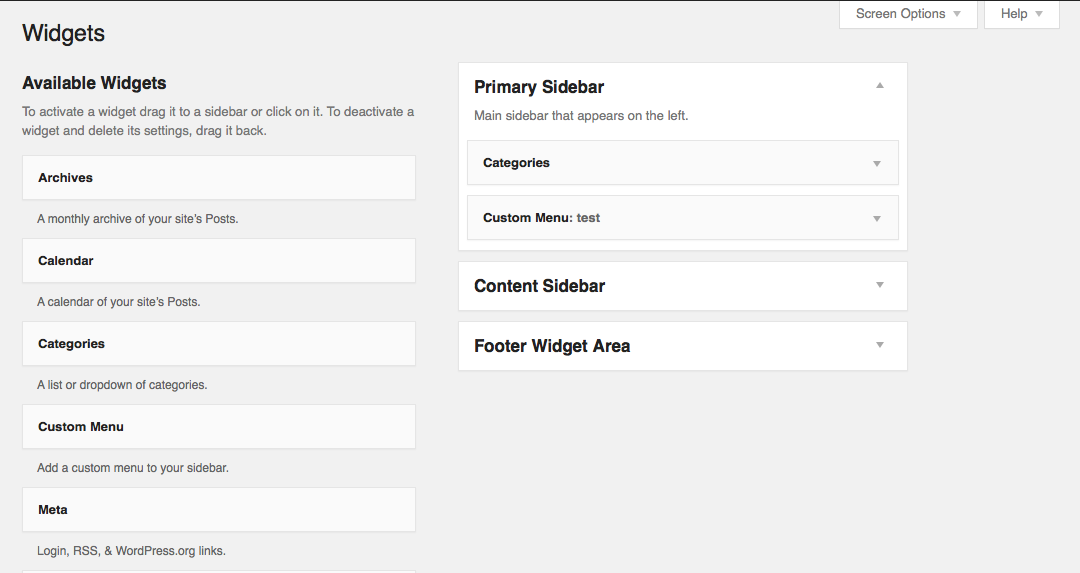
On the top lefthand side of the widgets page there is a list of the available widgets. The list may vary depending on the theme you have active. These available widgets will have a description of their functionality underneath for easy identification.
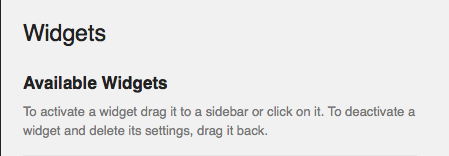
To make a widget "active" drag it and drop it into the active widgets panel on the right side of the page. Making a widget active means that it will appear on you Wordpress site. The active widgets panel looks like this:
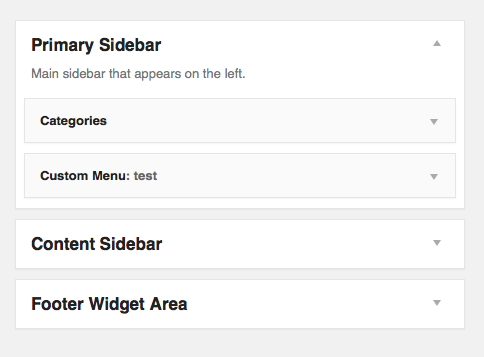
The active widgets panel will be separated into different sections. These separate sections will dictate where on the page the widget will be displayed. In the case of the example a widget could be placed in the primary sidebar, the content sidebar or the footer widget area. To move a widget to a specific area just drag and drop it into place. The sections displayed will most likely differ between active themes.
The Inactive widget panel can be found on the bottom left hand side of the page. It will look like this:

This Panel can be used if you wish to deactivate a widget for any specific reason but do not want to lose any of your modifications to the widget. To use this pannel just drag and drop a widget from the active panel to inactive.
If there are any further questions related to working with widgets you may open and submit a support ticket.

