Follow the directions below to install an automatic configuration profile to quickly setup your email account on your MacOS, iOS and iPadOS device.
Prerequisites
In order to install the automatic configuration profile, you must have:
- iPhone, iPad, or Mac with MacOS version 10.8 or later
- No accounts with the same email address configured on the device.
Installation
- On the device you would like to setup, visit https://www.[yourdomain.tld]/email, you should see a login screen similar to the one below. Sign in with your full email address and email password.

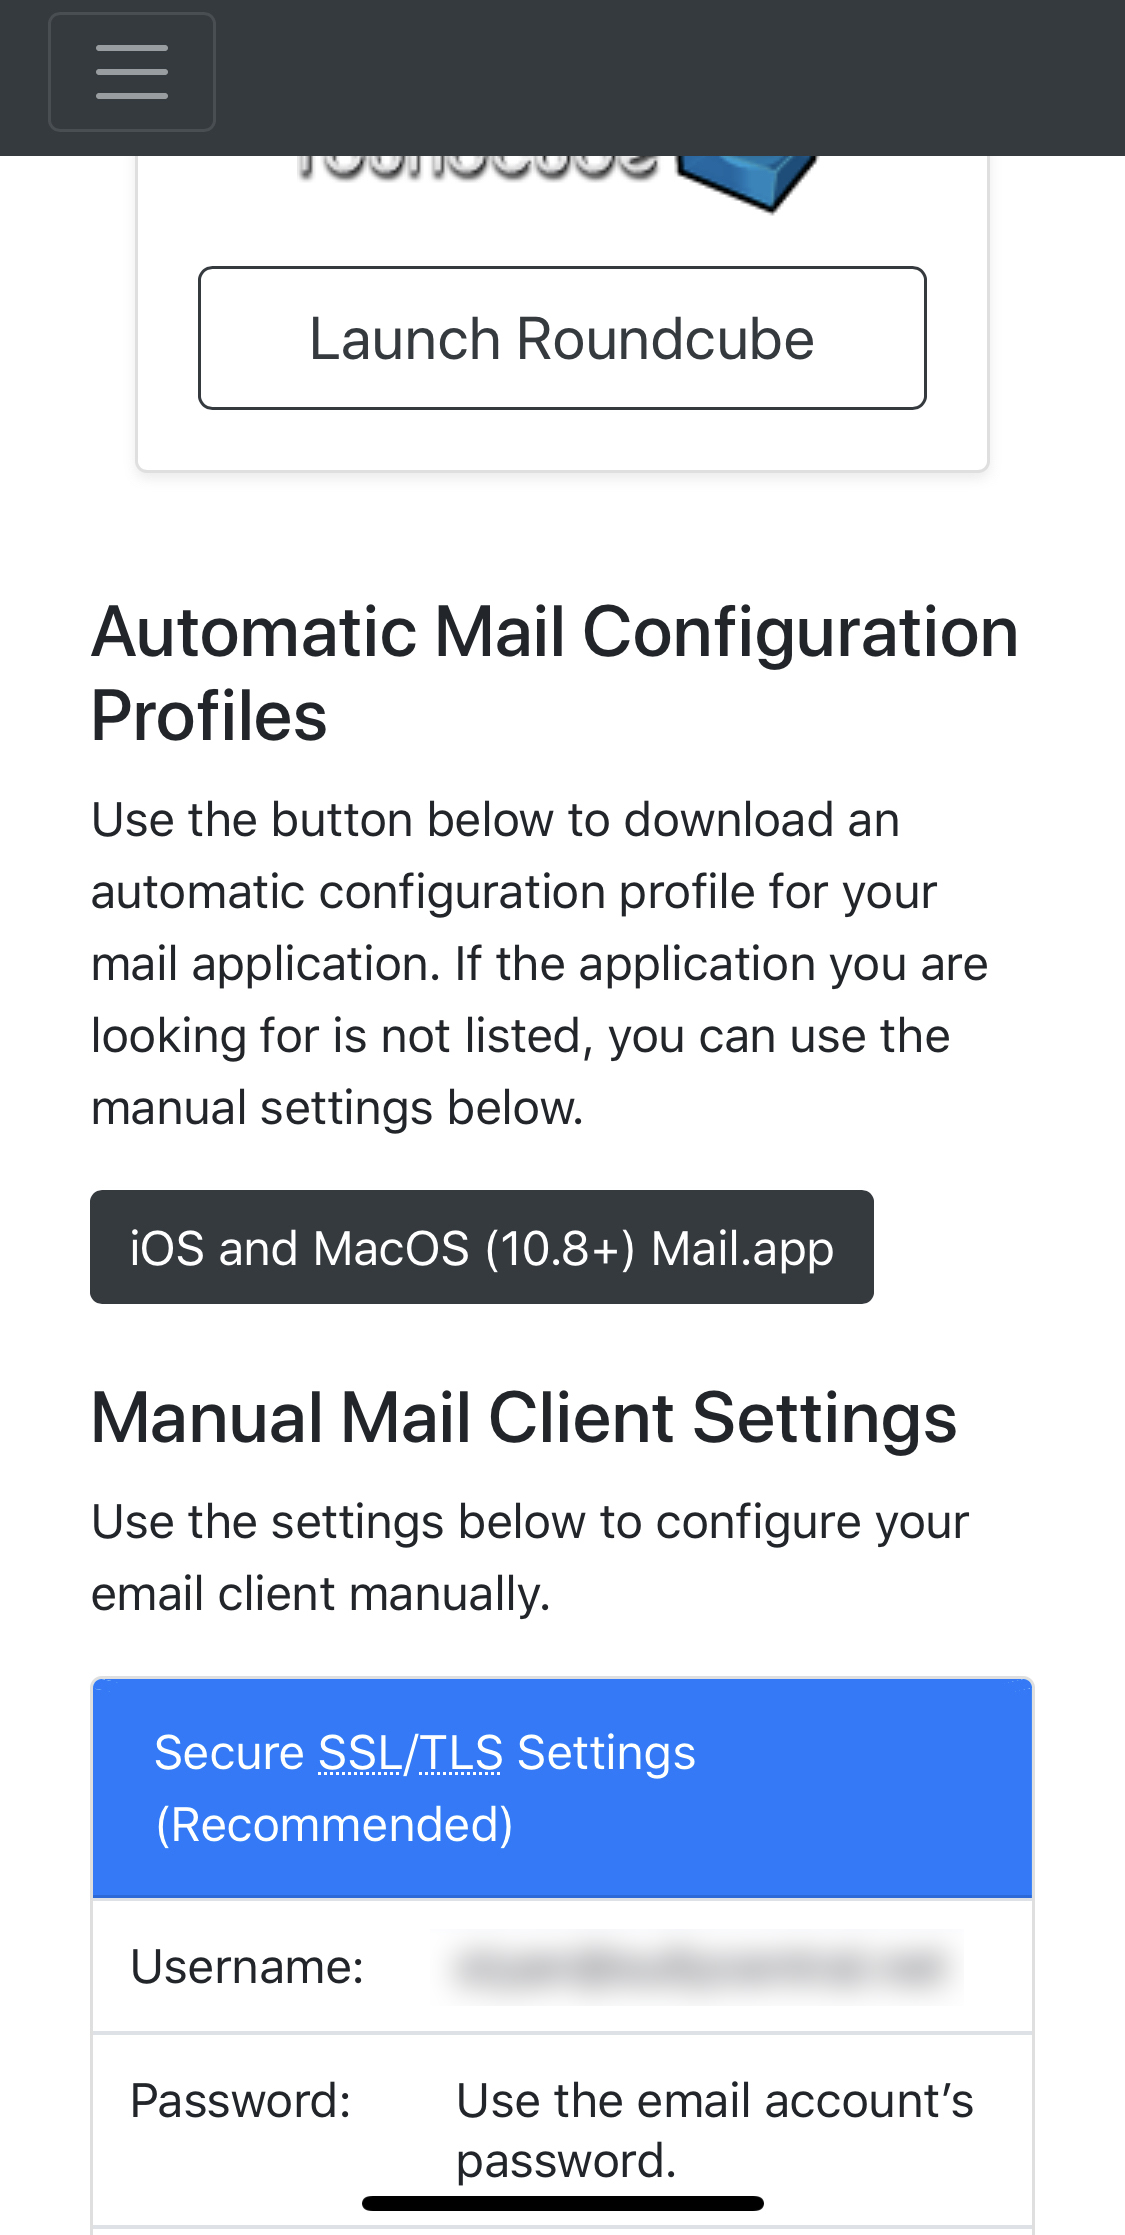
- Once you are logged in, scroll down to the "Automatic Mail Configuration Profiles" section of the page and tap/click the iOS and MacOS (10.8+) Mail.app button.
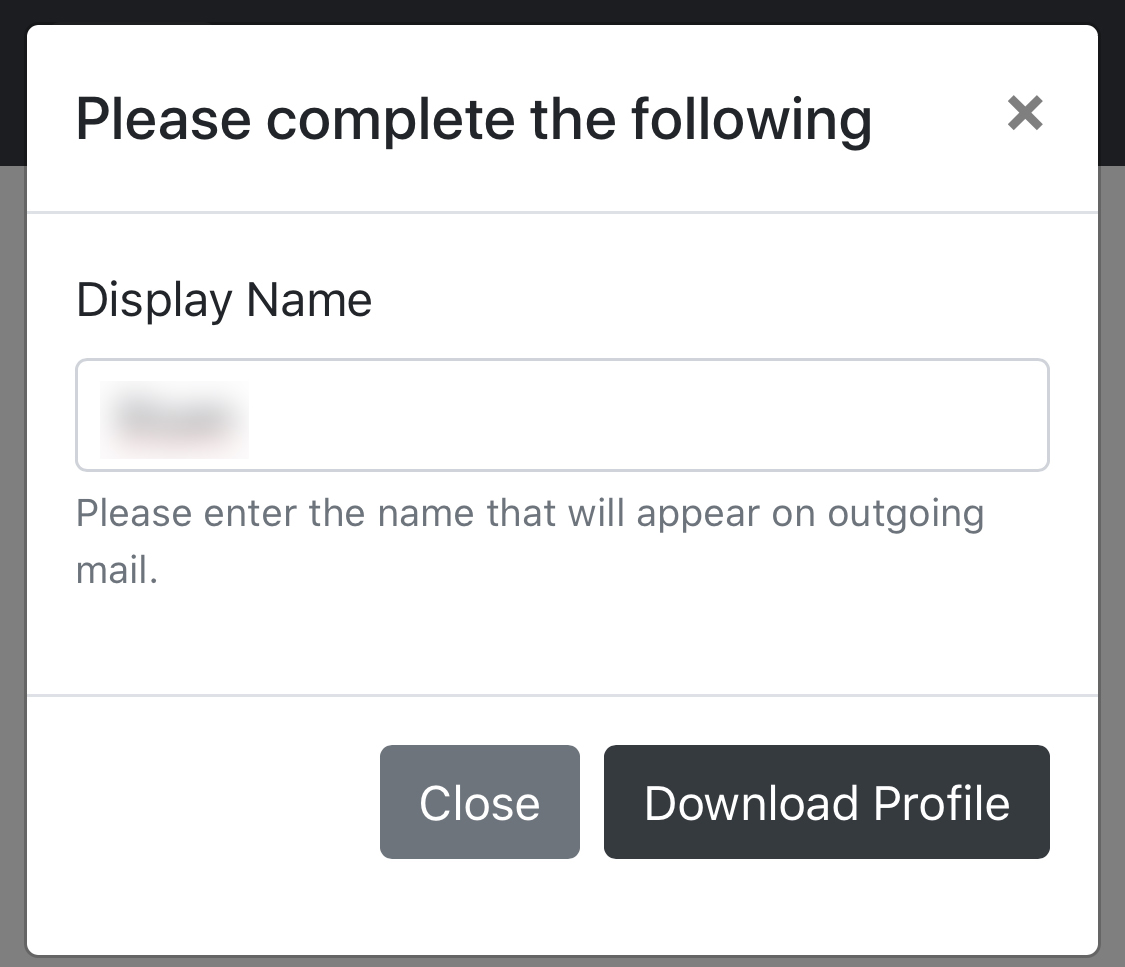
- Next fill in the "From name" for outgoing mail. This will appear on all outgoing messages and tap Download Profile.
- If you are on an iOS or iPadOS device, Safari may prompt you that you are about to download a configuration profile. Tap "Allow".
- Your profile has been downloaded and is waiting for setup in the Settings app. Tap "Close", return to your home screen and launch the settings app.
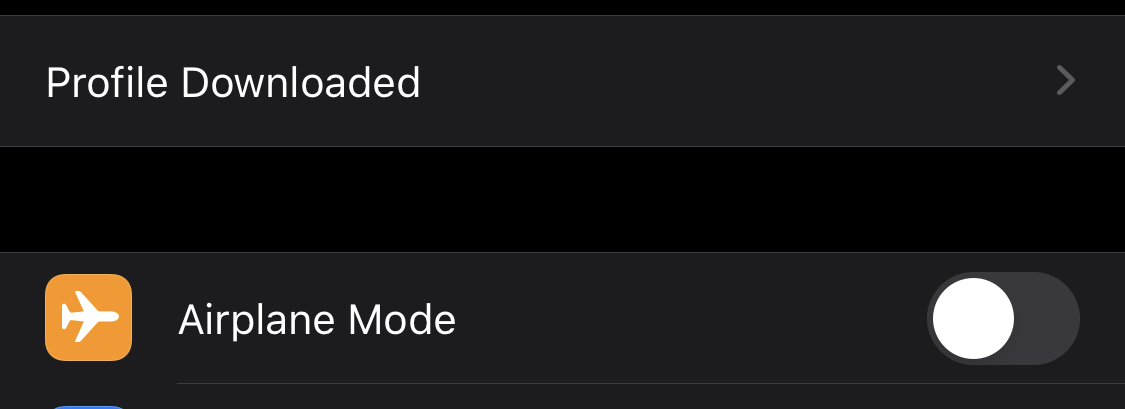
- Just below your iCloud settings and above the Airplane Mode switch you will see a new line that reads "Profile Downloaded" tap this to install the profile.
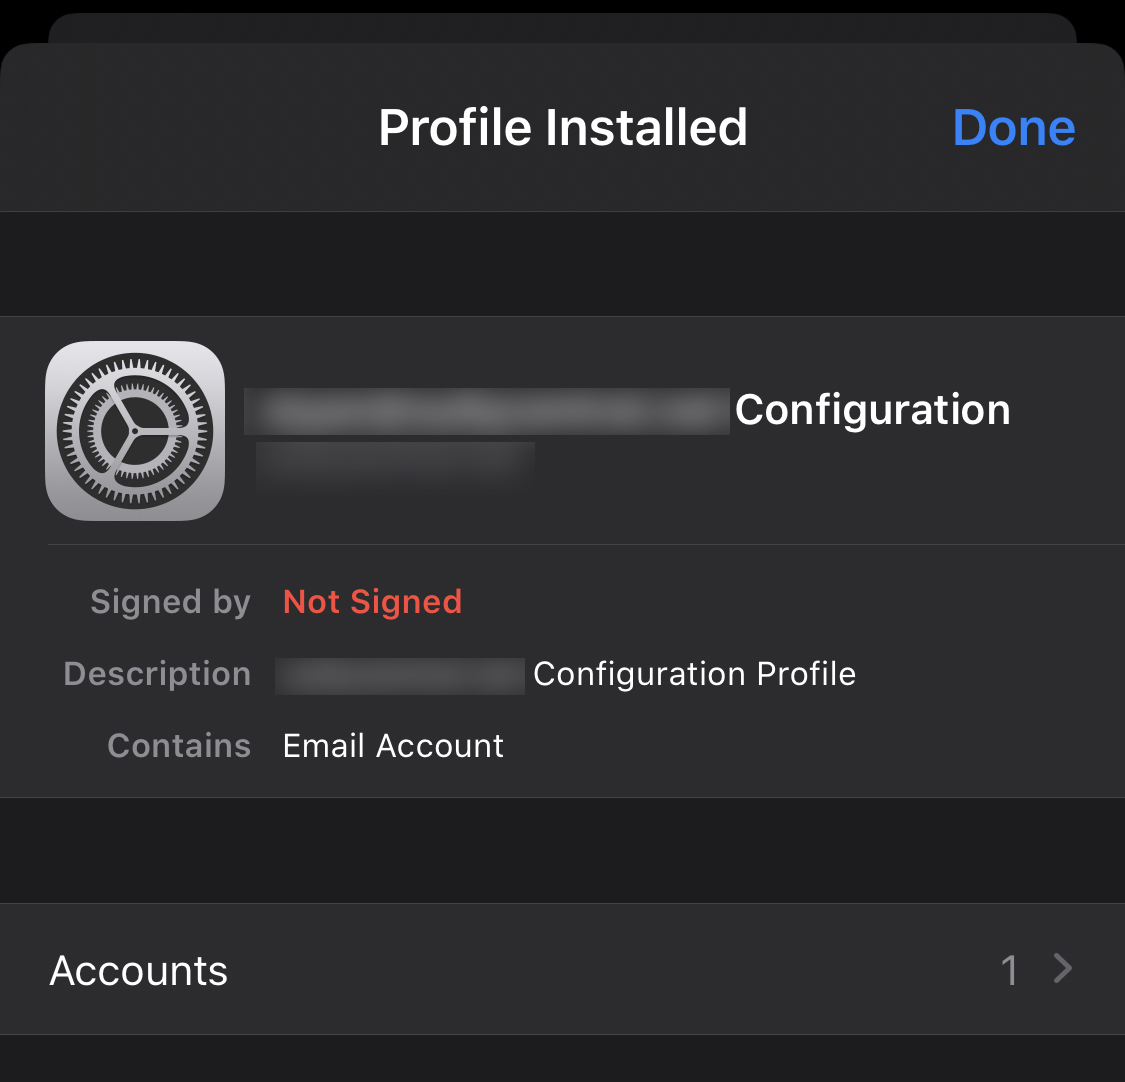
- On the install profile sheet that appears, tap "Install".
- If you are asked, enter your device passcode.
- You will next be presented with a warning that the profile is not signed, this is expected and normal, tap "Install". Tap the "Install" button that appears.

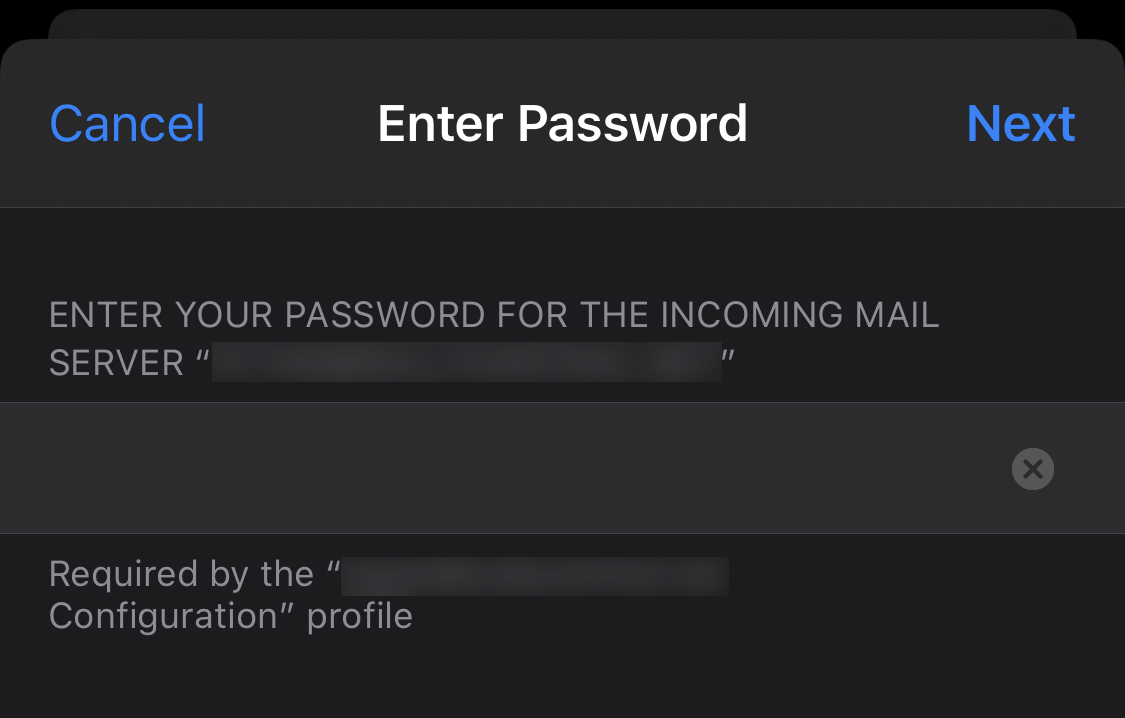
- On the following screen type your email password and tap "Next".
- Next, tap "Done".
- Now we must change some settings for the account. Go back from the profiles list to the top level of settings by tapping the "< General" button, then the "< Settings" button.
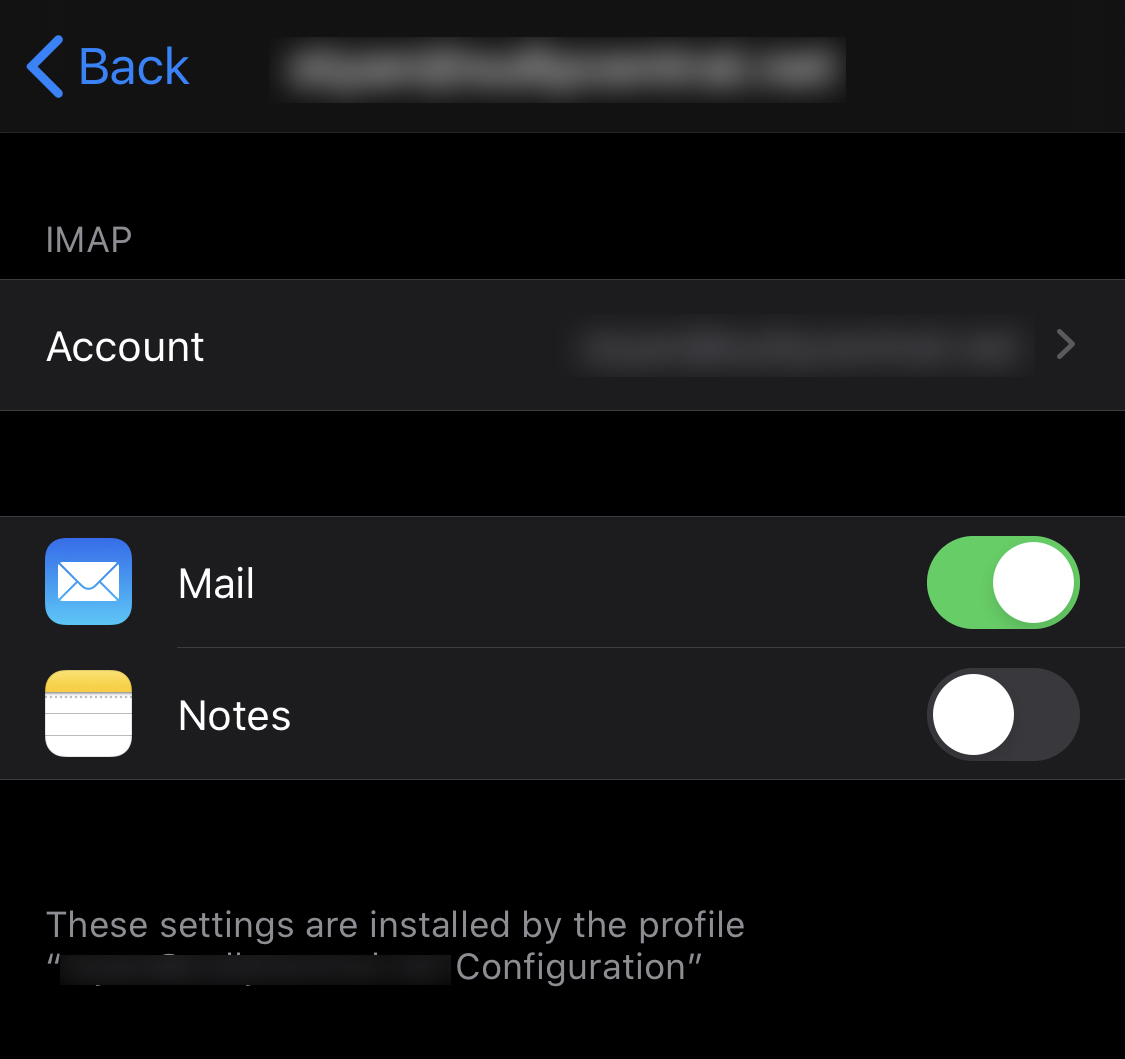
- Scroll down to "Passwords & Accounts", then tap on the name of the account we just created. Turn off "Notes", when prompted select "Delete from My iPhone/iPad".
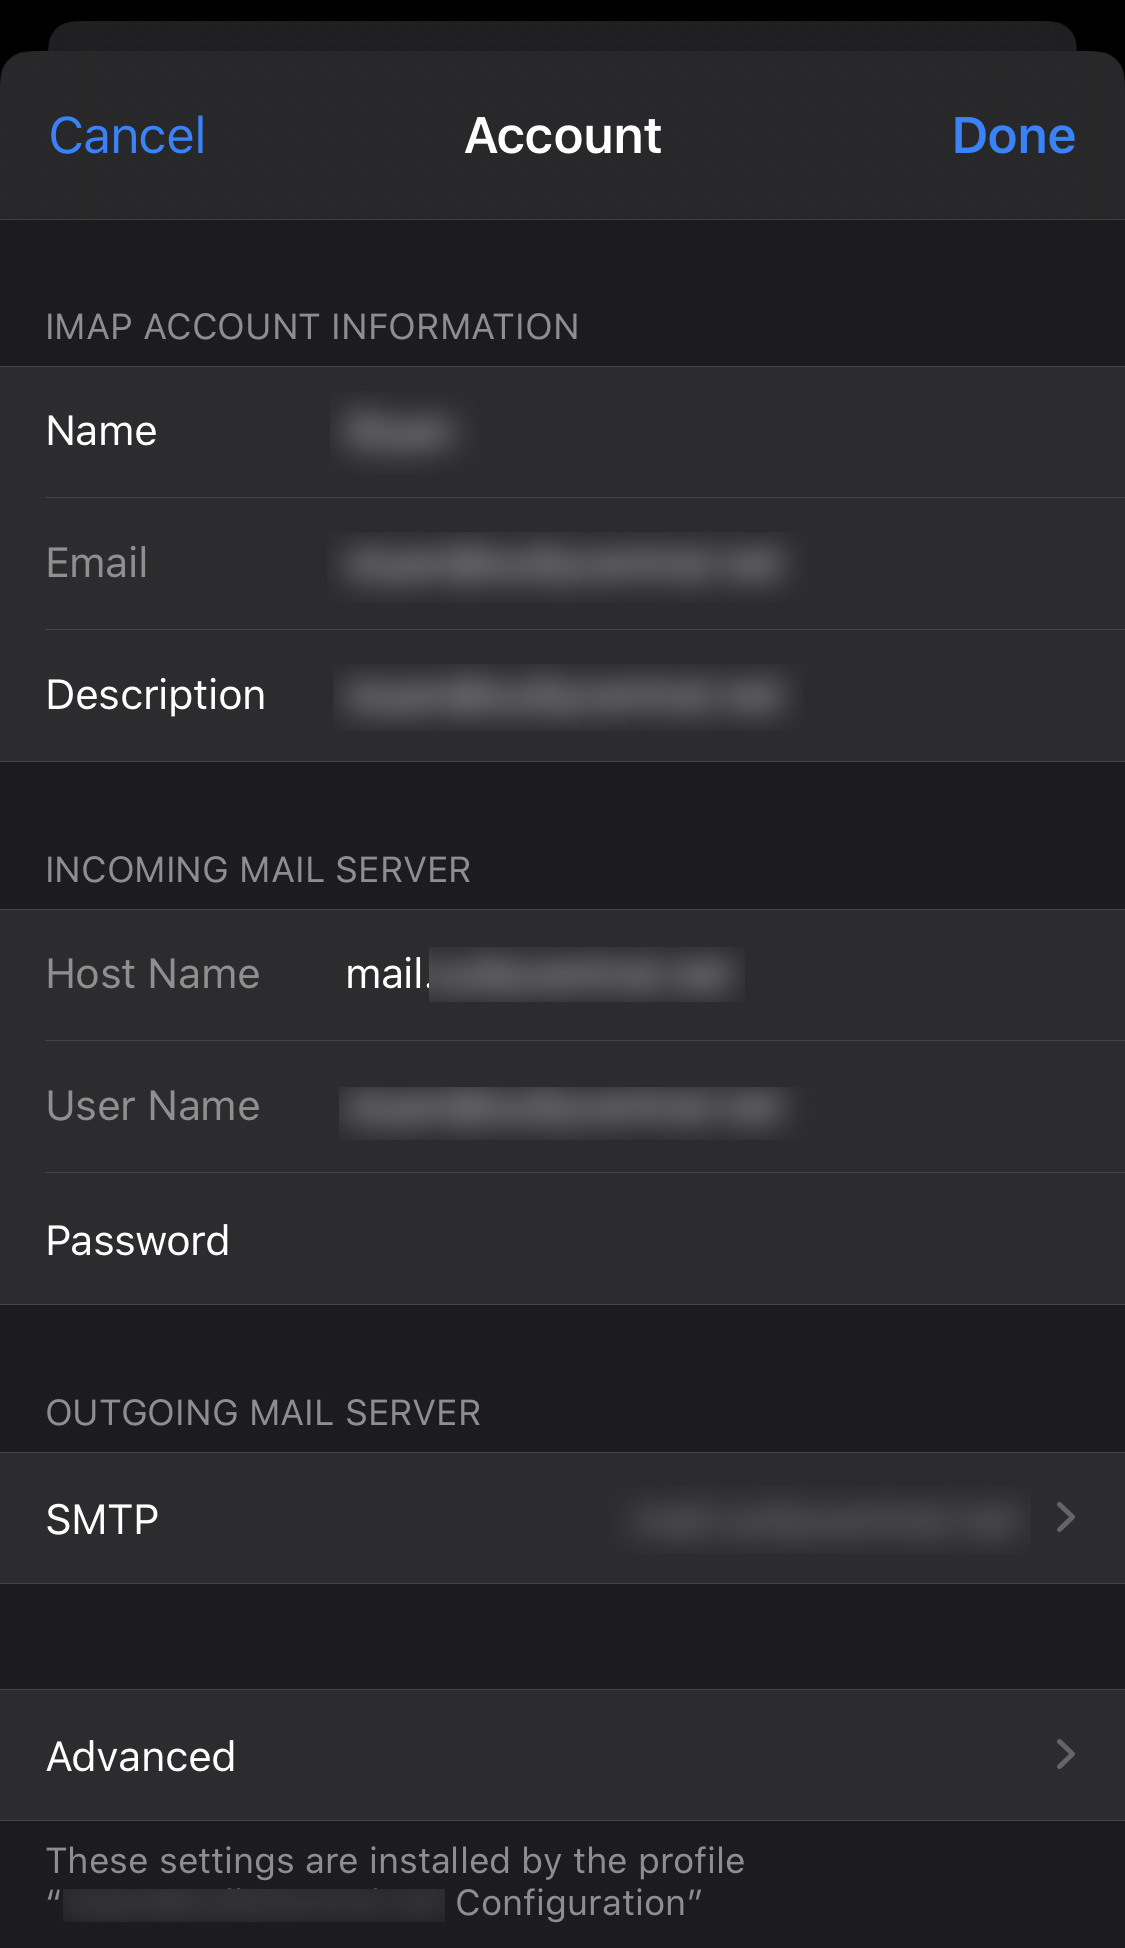
- Next, tap on the "Account" button, you will see a screen similar to the image below. Tap "Advanced".
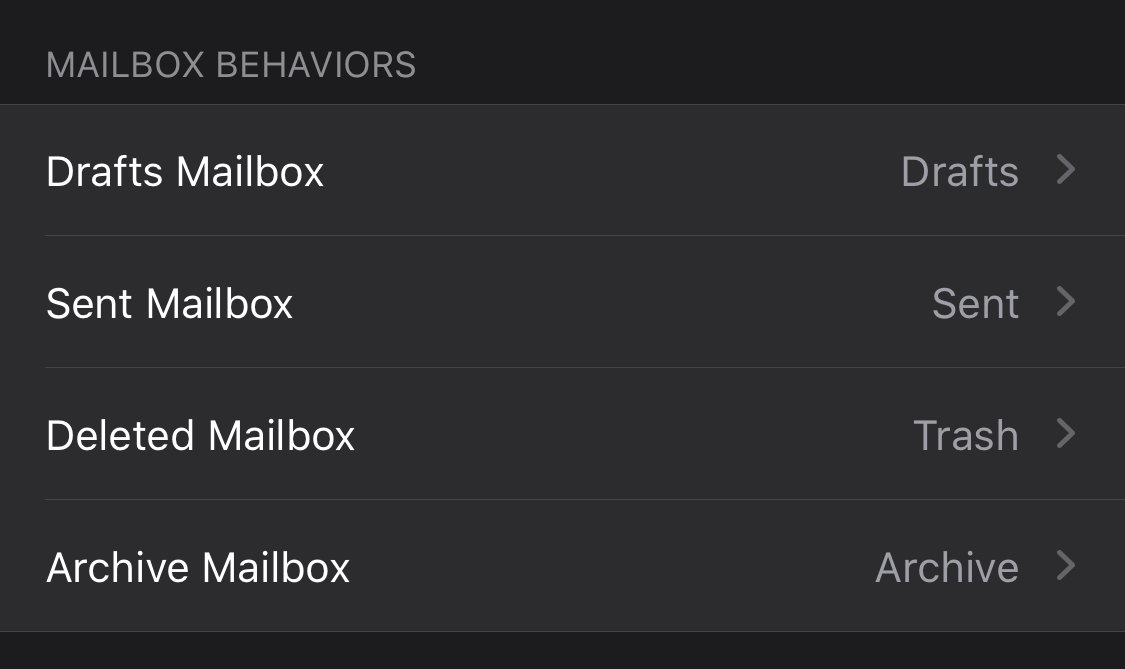
- On the advanced screen, under "MAILBOX BEHAVIORS", make sure each of the mailboxes are setup to save mail to the server and not to the phone. Instructions for drafts is below, but the same for all four mailboxes:
- Tap "Drafts Mailbox"
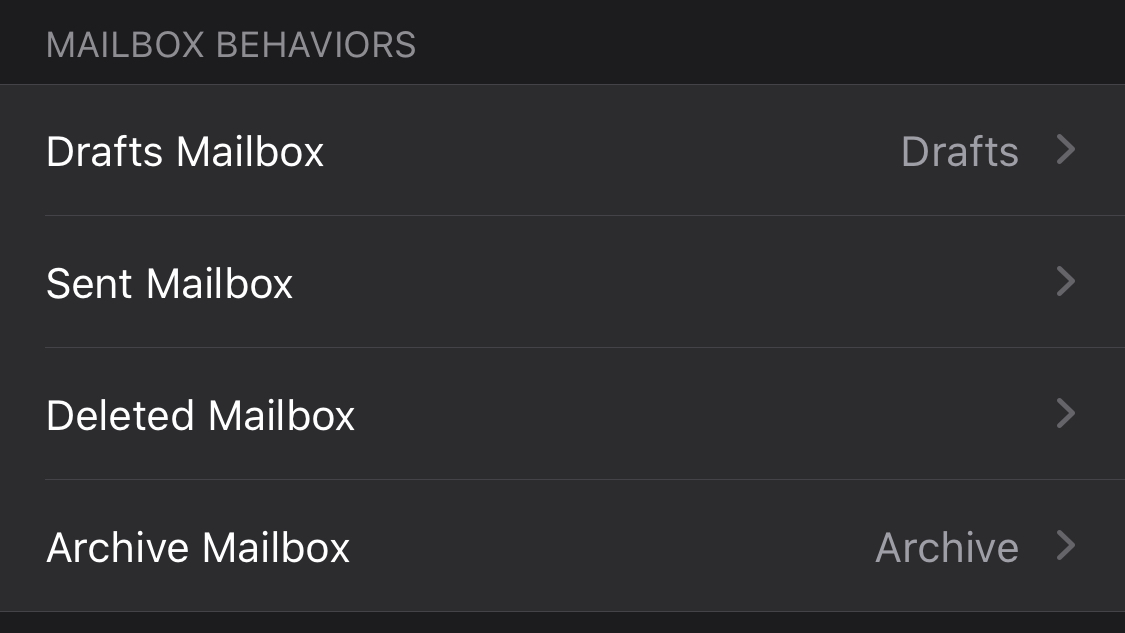
- Make sure the Drafts mailbox "ON THE SERVER" is selected, tap "< Advanced" to go back.
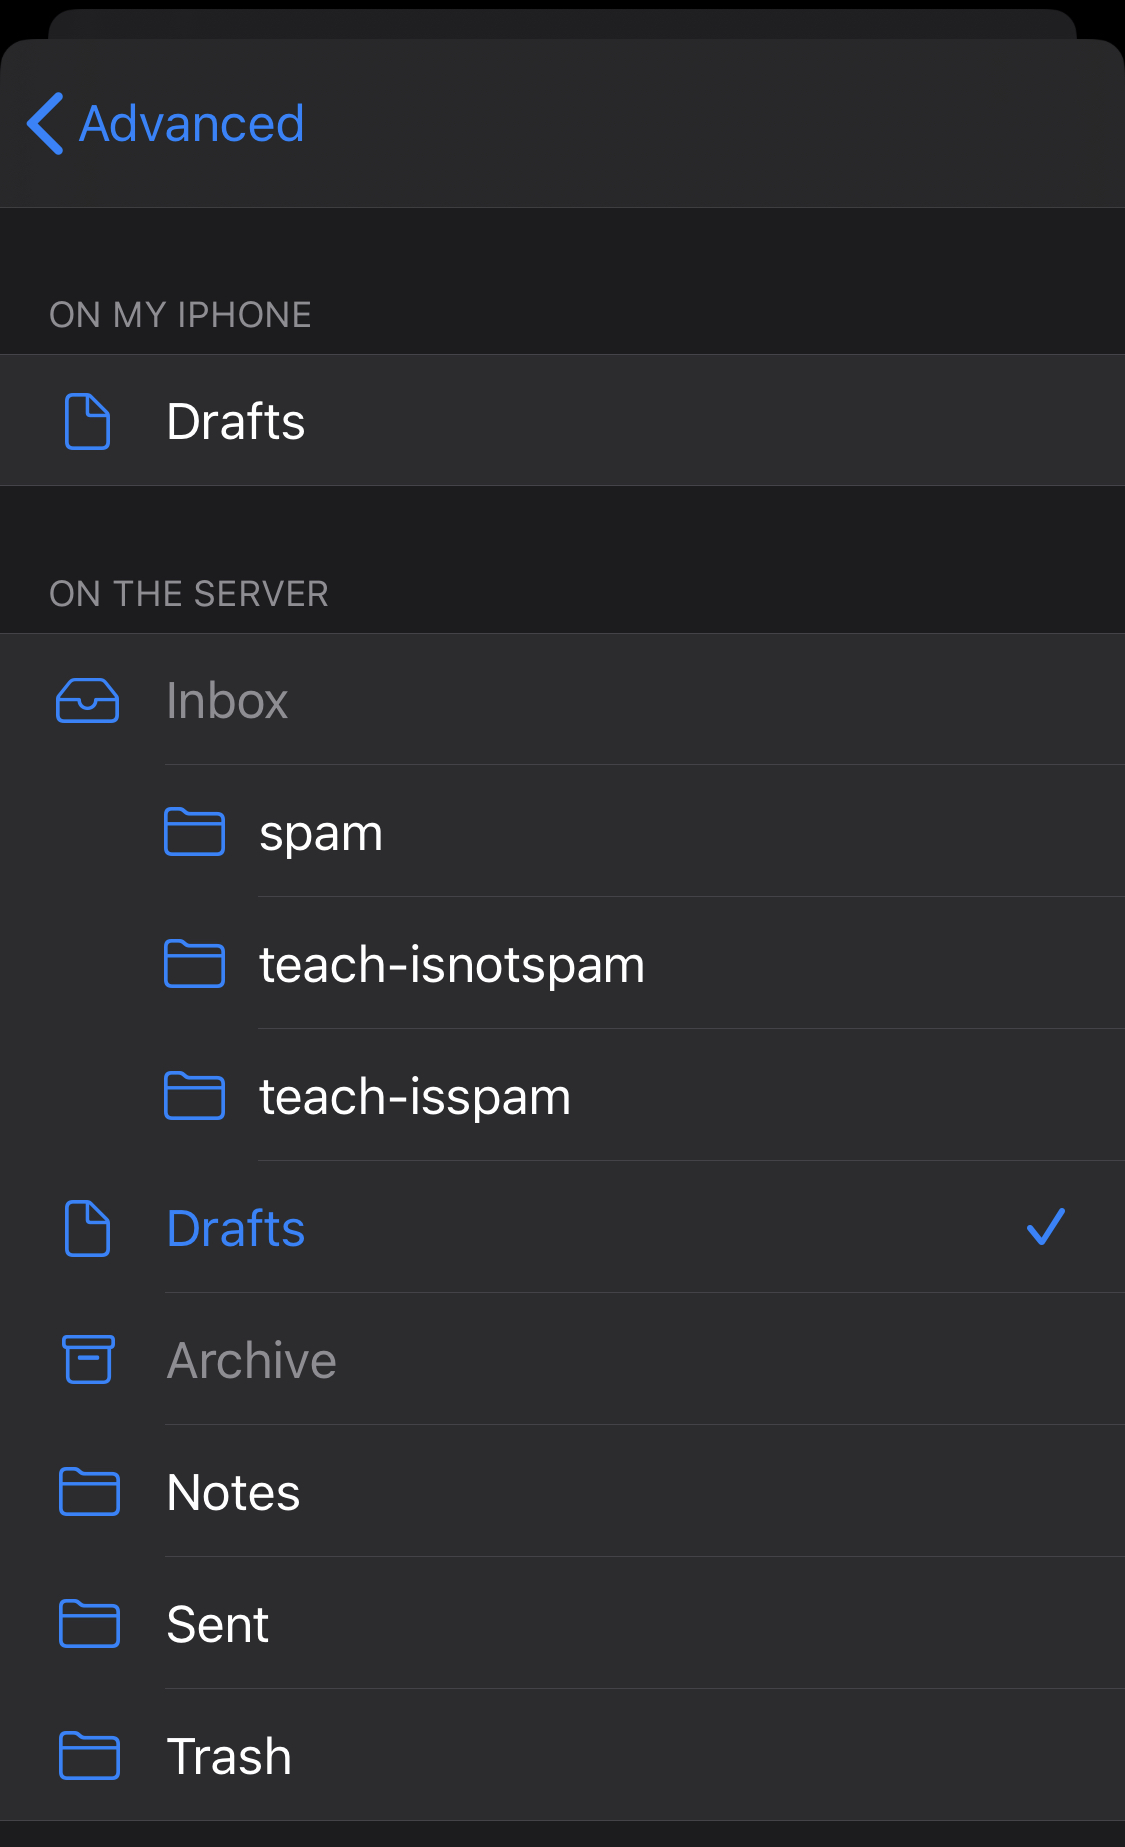
- Repeat for Sent, Deleted and Archive as required.
- Tap "Drafts Mailbox"
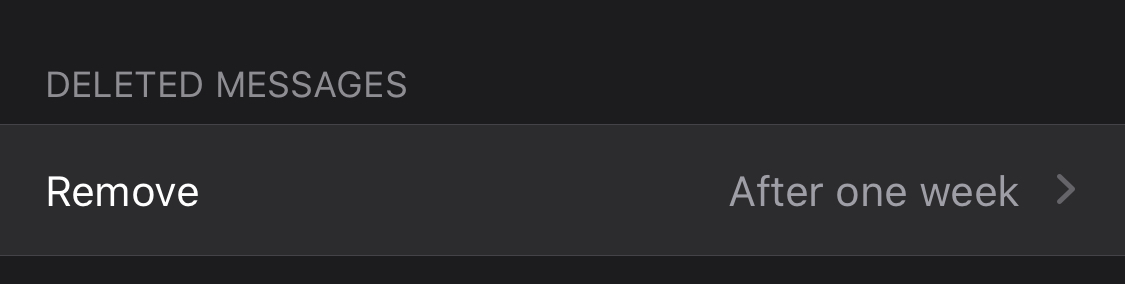
- Next set the "DELETED MESSAGES" section set the period of time you would like to have deleted mail automatically deleted from the server. Once complete, tap "< Account".
- Then tap "Done". Then tap "< Back", then "< Settings", then go to your home screen and launch "Mail".
- That's it! Your new mail account should now be configured.
